
Hounds of Marrow County Guns Tier List by Playstyle
Close, mid, and long kits for Alpha hunts—ranked by role, not invented DPS.
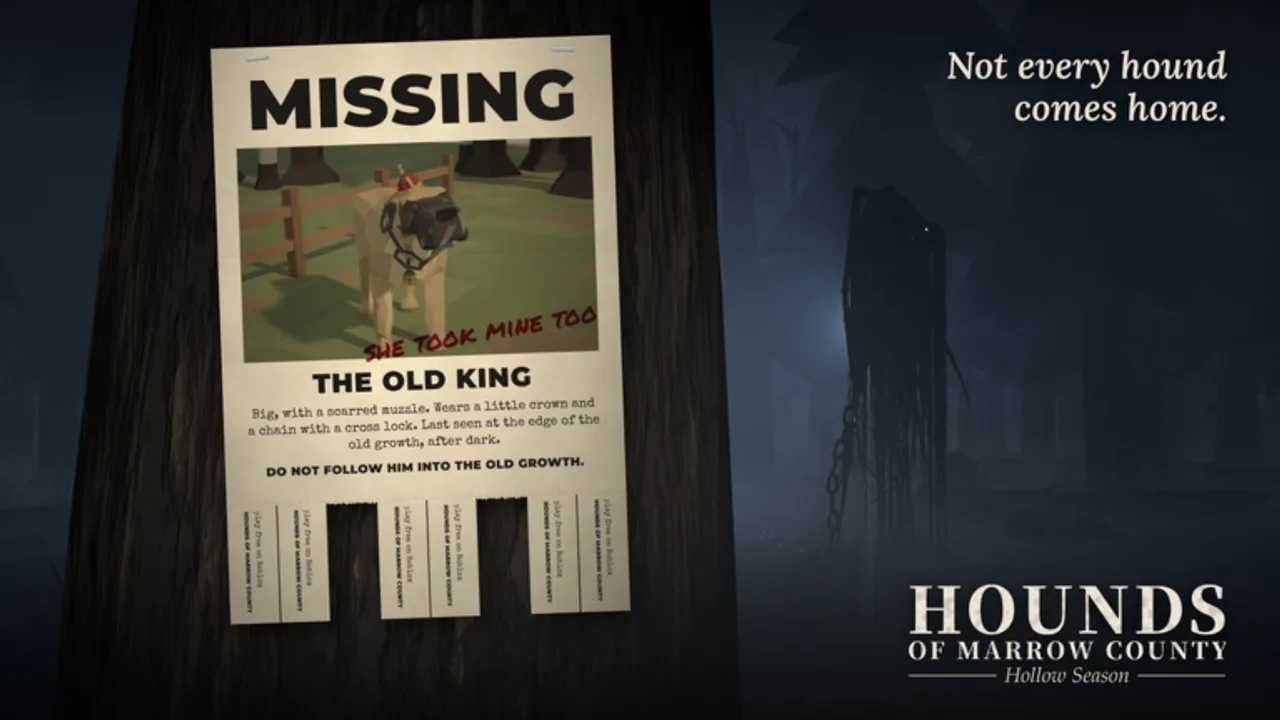
Hounds of Marrow County ships 15+ different guns with various playstyles and attachments suited for every player. That store-page promise is the ceiling of what this tier list will claim. We will not invent damage-per-second tables, magazine sizes, or secret “meta only” weapon names that do not appear in your client. Instead, this page ranks engagement distances and teaches you how to judge a gun after a real hunt in the haunted forest of Marrow County.
Alpha V1.7 / 1.73 from pileofsheep is still live, so expect feel changes when the experience description updates. Your Marks, ammo discipline, and dog pairing matter more than a stranger’s screenshot. For the loop that turns shots into money, use the hunting and skinning guide. For companion roles that match your range, open the dogs tier list. Broader ranking rules live on the Tier List Hub.
Playstyle lanes we actually rank
| Lane | Job in the forest | Typical strengths | Typical failure mode |
|---|---|---|---|
| Close | Brush fights, panic animals, gnome pressure | Fast reaction, forgiving aim windows | Wastes ammo on open ridges |
| Mid | Default hunting and co-op flexibility | Covers most animal contacts | Loses to specialists at extremes |
| Long | Open sightlines, careful trophy shots | Safer first hits, less sprint panic | Punished in dense night scrapes |
S-tier means “best default for that lane’s job.” A-tier means “excellent with the right attachments and dog.” B-tier means “usable while you save Marks.” We skip fake F lists for guns you have not unlocked or tested on a size-16 server.
Close-range playstyle tiers
Close kits exist for the moments when Marrow County collapses inward: animals flush from cover, teammates push the same bush, or a broken gnome remembers you and charges with whatever weaponry that encounter rolls. Official copy stresses that gnomes pay about 1,400 Marks—worth a day’s work if you live—so close guns are not only “noob guns.” They are extraction tools.
S — Dedicated close fighters for loud content. Prefer guns that feel stable when the target is already in your face. High tier here is finishing the fight before your dog’s assist window ends and before you burn the Lodge retreat.
A — Hybrid close guns that still work at short-mid. Great when you hunt edges of clearings and expect occasional scrambles.
B — Pure panic picks with poor ammo economy. Fine as a backup, expensive as a main if you mostly snipe ridges.
Close-range evaluation checklist:
- Can you end a sudden contact without emptying your reserves?
- Do attachments help target acquisition in dark brush, or only look stylish?
- After gnome pressure, did you still have ammo for the walk home?
- Does your dog’s combat-assist role actually sync with this gun’s reload rhythm?
If you mainly farm quiet daytime pelts, do not force an S-tier close gun into every loadout. Lane strength is contextual.
Mid-range playstyle tiers
Mid is the Alpha workhorse lane. Most animal contacts, most co-op tagging, and most “I am still learning the map” sessions live here. A strong mid gun lets you honor the core fantasy—hunt, fish, survive—without constant weapon swaps.
S — Flexible mid generals. Readable recoil (as you feel it), sensible attachment options, and comfort across day routes and mild dusk pressure.
A — Mid guns that lean close or lean long. Take them when your dog role creates a predictable distance. Trackers that hold animals at a lane favor mid-long hybrids; assist dogs in brush favor mid-close hybrids.
B — Mid guns that punish bad positioning. Keep them once you stop sprinting into every noise.
Mid-range evaluation checklist:
- Across ten animal encounters, how often did you wish you were closer or farther?
- Can you skin and relocate without constant ammo shopping?
- In a busy lobby, can you still hit clean shots when other hunters make wildlife unpredictable?
- Does the gun still feel right after you add the attachments you can actually afford?
Mid S-tier is usually the best Marks-per-hour teacher for new players coming from Getting Started.
Long-range playstyle tiers
Long kits reward patience: glassing ridges, taking cleaner first shots, and reducing how often night surprises turn into melee. They also fail hard when you break a gnome in a tight space or when your tracker pulls a fight into trees.
S — True long specialists for open hunts and trophy care. High tier when your route has sightlines and your Lodge waypoint is planned so you are not stranded after a miss.
A — Long guns that forgive a mid follow-up. Useful when Alpha animals do not stay polite after the first hit.
B — Fragile long picks that demand perfect positioning. Strong in highlight clips, weak on chaotic servers.
Long-range evaluation checklist:
- What percentage of your shots are taken at the distance this gun wants?
- When a fight collapses to close range, do you have a plan—sidearm habit, dog assist, or retreat?
- Are attachments helping clarity and control, or just adding cost?
- After a full day circuit, did long shots raise Marks or raise corpse runs?
Long weapons pair especially well with tracking-focused dogs from the dogs tier list when those dogs create shooting windows instead of forcing brawls.
Attachments without mythcrafting
The experience promises attachments for different players. Until denser official stats exist, judge attachments with a boring but honest method:
- Change one attachment at a time. If you swap three parts and the gun “feels better,” you learned nothing.
- Name the problem you are solving. Visibility at dusk, control on follow-up shots, comfort in brush—pick one.
- Re-run the same route. Same dog role, same time-of-day goal, same fifteen-minute timer.
- Keep Marks opportunity cost in mind. An expensive optic that does not raise skins-per-hour is a Lodge flex, not an upgrade.
- Re-test after Alpha notes change. Attachment feel can move when pileofsheep ships the next label after 1.73.
Ignore charts that list exact multiplier fantasy numbers without a client screenshot. This wiki would rather say “verify in your HUD” than invent precision.
Loadout recipes by session goal
Quiet Marks farming (day): Mid S-tier or mid-long A-tier gun, tracking dog, Lodge waypoint near your loop, minimal gnome baiting. Follow hunting and skinning discipline.
Gnome gambling (controlled): Close S-tier or mid-close A-tier, combat-assist dog, pre-planned retreat to Lodge, accept that 1,400 Marks per gnome is not free money if you lose the kit.
Teaching a friend on co-op: Mid generalist gun for both of you, beginner-friendly dog roles, avoid night specialty content until the friend can redeem the basic loop. Servers hold up to 16 players—noise will happen.
Trophy and Lodge flex night: Long or mid-long kit for careful shots, but carry a close backup plan. Customize the Lodge, set the waypoint, and do not let cosmetics from seasonal crates distract you from ammo counts. Seasonal context sits on Halloween cosmetics.
Common gun ranking mistakes
- Copying a clip’s “best gun” without a lane. Ask what distance the creator fought at.
- Ignoring ammo economy. A strong gun that bankrupts you before you sell pelts is low tier for progression.
- Forcing long guns into gnome tunnels. Lane mismatch creates fake “this game’s guns are bad” takes.
- Never re-checking after patches. Alpha balance is part of the product. Watch the Alpha changelog and the live Roblox description.
Field test you can repeat every week
- Pick one lane (close, mid, or long).
- Equip the gun and attachments you can currently afford.
- Pair one dog role intentionally.
- Run a day circuit and a short dusk sample.
- Log Marks banked, ammo spent, and deaths.
- Promote or demote that gun only inside its lane.
That notebook will outlive any static webpage while the Alpha is young. When you need the philosophy behind these lanes, return to the Tier List Hub. When you need animal processing steps, stay with the hunting and skinning guide. When companion pairing is the missing piece, use the dogs tier list.
In Marrow County, the best gun is the one that matches the fight the forest actually gave you—not the one a fabricated DPS sheet crowned before you spawned.
Frequently Asked Questions
Quick answers for hunters in Marrow County.
Why are there no DPS numbers on this tier list?
Public Alpha info confirms 15+ guns and varied playstyles with attachments, not a verified damage sheet. Invented DPS would be fiction, so we rank lanes and teach field tests instead.
What gun lane should new players start with?
Mid-range generalists. They cover most hunts while you learn routes, dogs, and the Lodge waypoint habit. See Getting Started.
Do attachments matter more than the base gun?
They matter when they solve a named problem you can measure on a repeated route. Change one attachment at a time and compare Marks and ammo use.
Which lane is best for gnomes?
Close or mid-close kits usually handle sudden charges better than pure long guns. Remember each gnome is about 1,400 Marks only if you survive.
Where do I learn to turn gunfights into money?
Follow the hunting and skinning guide and keep dog pairing aligned via the dogs tier list.